What is an appointment scheduler?
Basically, an appointment scheduler is an application or a web tool which helps professionals like doctors, dentists, wet clinics and salon owners let their customers book appointments to their clinics, directly from the website or social media by using the link provided by the schedule application.
Why choose an appointment scheduler?
In this fast-paced world, valuing the customer's time is very important. It is not that every time a customer wants to visit your clinic, they expect a call back to confirm the appointment. Many people find this annoying and result in not requesting an appointment through a call. On the other hand, an appointment scheduler can be easily integrated into your website where your customer can visit and directly book an appointment at their feasible time and receive a confirmation within minutes. The automated reminder feature, which will be integrated into the appointment scheduler, will remind the customer to visit the clinic at their set time without fail.
Choosing an appointment scheduler over a traditional phone call appointment system will reduce the efforts and time of the customer and yourself and reduce the no-shows to your business.
Why choose ADVI Planner as your appointment scheduler
ADVI Planner's appointment scheduler comes with a bunch of additional features, which no other appointment service providers give
Feasibility to customise your dashboard
Other than the advanced features provided by ADVI Planner, we also provide professionals to choose their features and customise them for your business
Advanced dashboard
The inbuilt dashboard will provide you insights of your customers' booking history and the customer details all in one place to understand your business statistics and the areas where you can improve to provide better customer service
Interactive calendar
The very interactive calendar provided by the ADVI Planner will help you see all your appointments scheduled throughout the day or week or month in a single place. Also, you can access the customer bookings right from the calendar.
Customer notes and many more
The customer notes section is directly linked to the customer's booking profile, where you can add your customer's insights and future notes that will help you make your customers feel comfortable in their upcoming visits. Also, the customer note session can be used to give feedback to your customers and choose the messages which you want to send to their mail with one tap.
Using ADVI Planner appointment scheduler
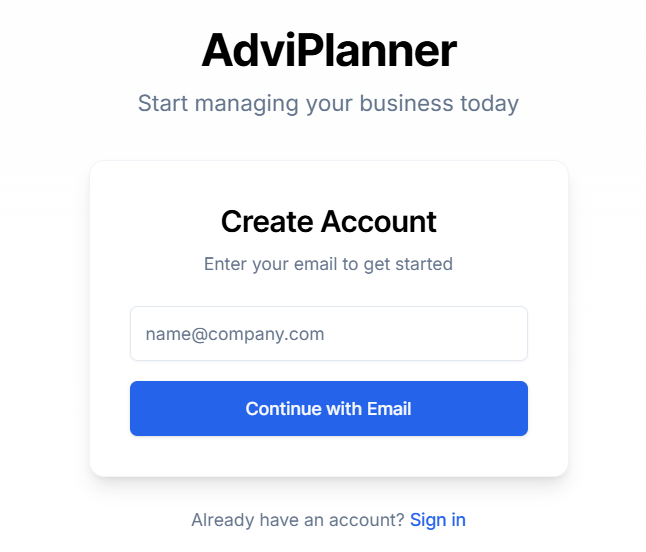
If you have not yet registered to our ADVI Planner, you can directly visit Register to ADVI Planner and register with your mail address.
Once you have registered to the ADVI Planner, you will see the dashboard where you can add your business.
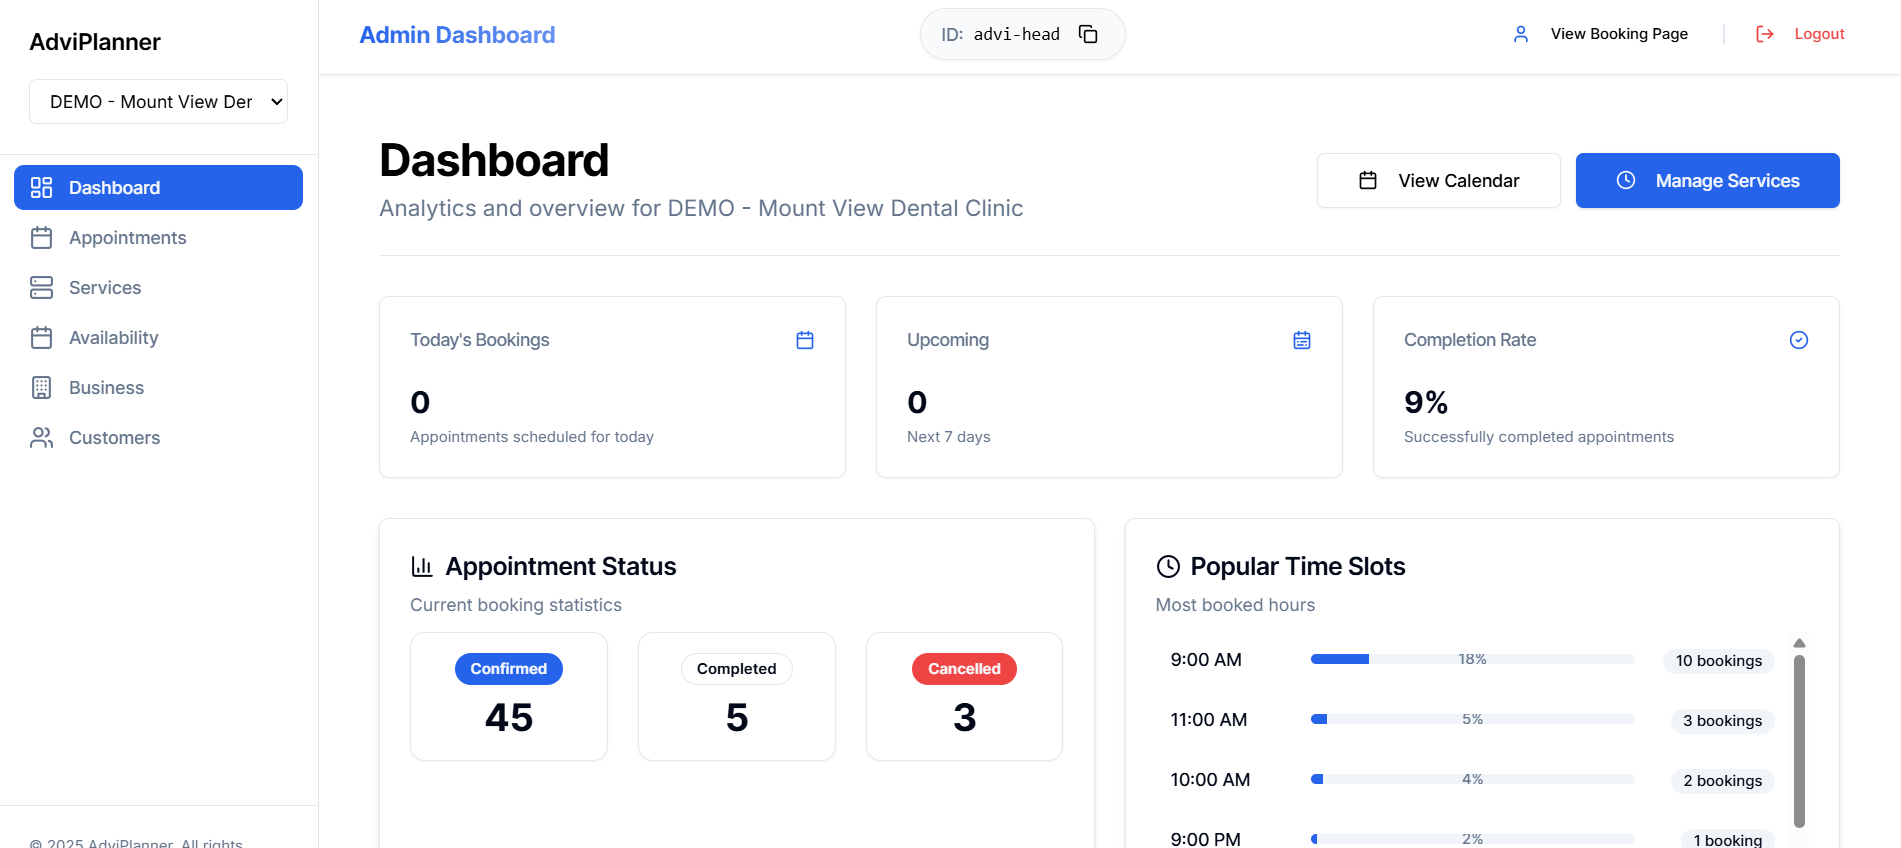
We have provided a very interactive dashboard, which helps you manage all the customer bookings in a single place.
Adding your first business
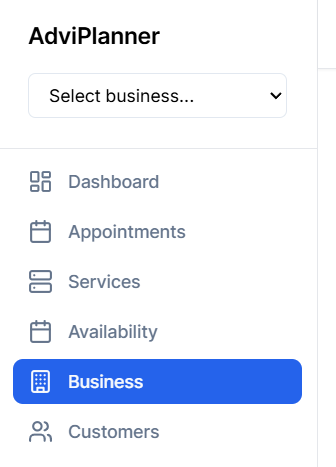
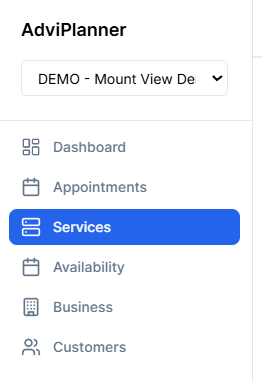
On the left-hand side of the ADVI Planner's appointment scheduler dashboard, you will see a menu with a list of options. In that list, select the business option.
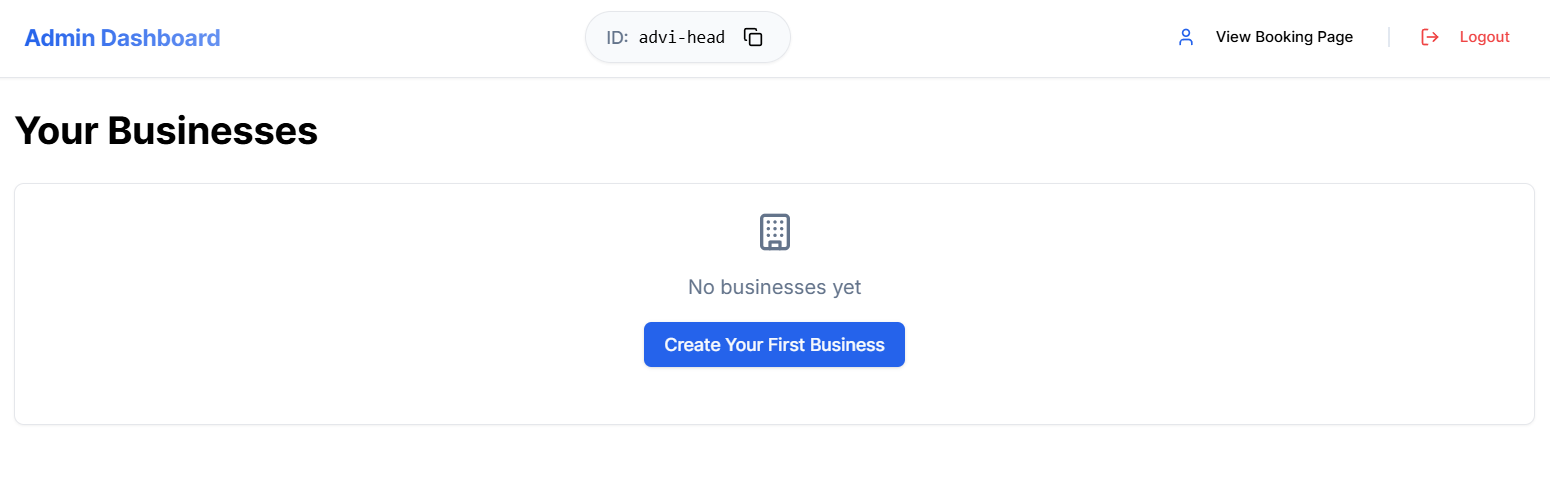
This will open your business dashboard. All your added businesses will appear here for you to choose from. If you have not yet added your business, click on the create your first business button.
Now, you will be asked to enter the details of your business. Fill in the details of your business and the description you want, and add the contact details in the requested fields. You need to keep in mind that these details will be appearing on the scheduler widget, where your customers will be booking your appointments. So make sure the details entered here reflect your business.
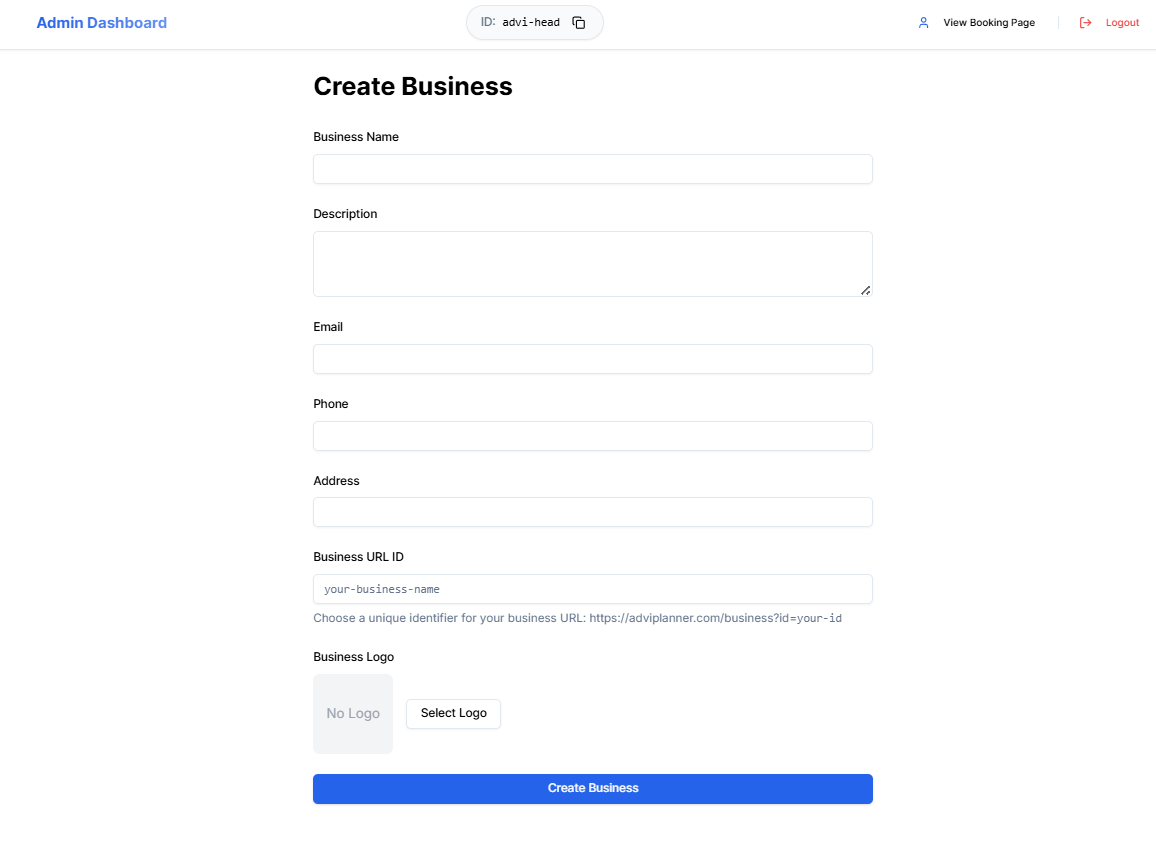
The business URL ID will be added to the sharable link provided by the ADVI Planner, which you will be sharing with your customers and on social media. Upload the logo of your business and click on create your business button.
Adding services to your business
Services you provide in your business include individual products or services where your customers will be opting to get serviced. For example, if you are a hair salon owner, you can add hairstyling and hair coloring as two different services and name your prices accordingly.
To add the services first, in the left side menu, select the business from the drop-down menu and select the services option.
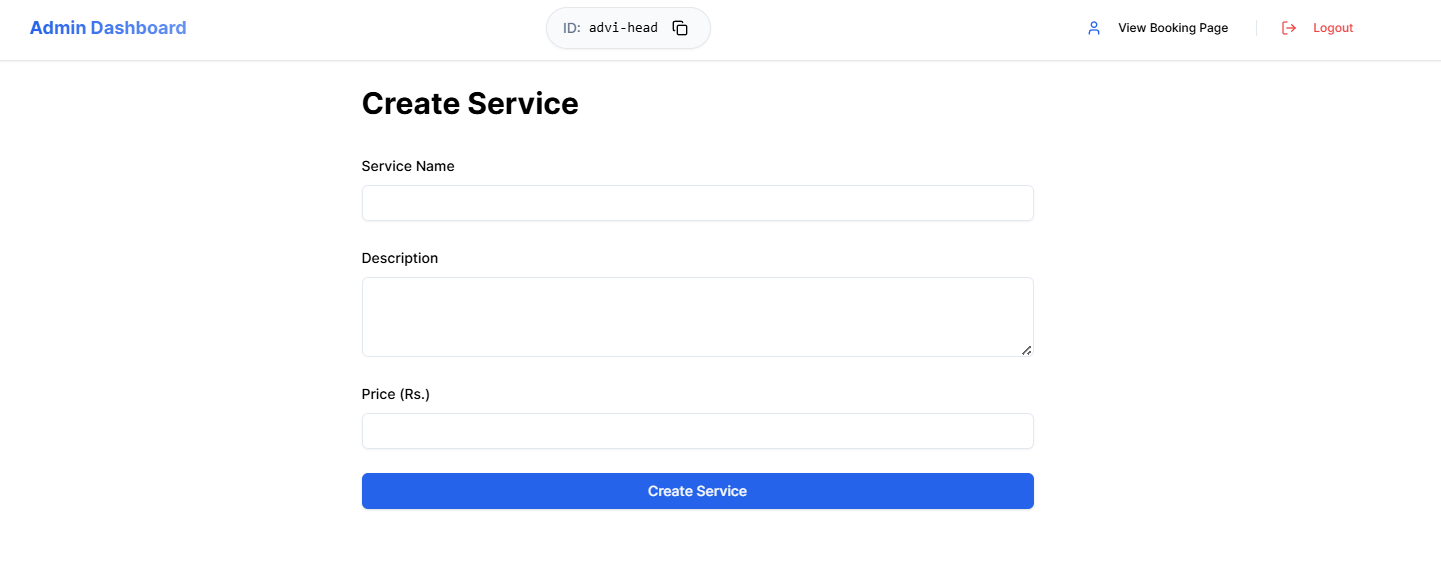
Once you are on the service page, you will see all the available services that have already been created for your business. To create or add new services. Click on the Add New Service button on top.

Now, a page will open, which will ask for your service name and its description. Make sure you give the correct details here, which will be reflected in your appointment scheduler Widget in your website.
After adding the service details, add the price of your service and click on the create service button.
Adding available business hours
It is very important to choose your business hours for your customers to opt for the correct timing of your services.
To add your business hours, click on the availability under your business in the left menu.

Now, a page will open that will show all the working days. You can select any working day and start adding the business hours. You can adjust your booking hours from 15 minutes to 90 minutes based on your convenience and your business requirements.
For the hours where you will not be serving. For example, 1 PM to 2 PM, where you are going to have your lunch break, you don't need to create a business hour.
For your convenience, we have added the copy to all days button, which will help you add the business hours you have just created to all the days you will be servicing.
For any day which you will not be serving. You can simply click on the delete button on the working days, and it will simply go to inactive.
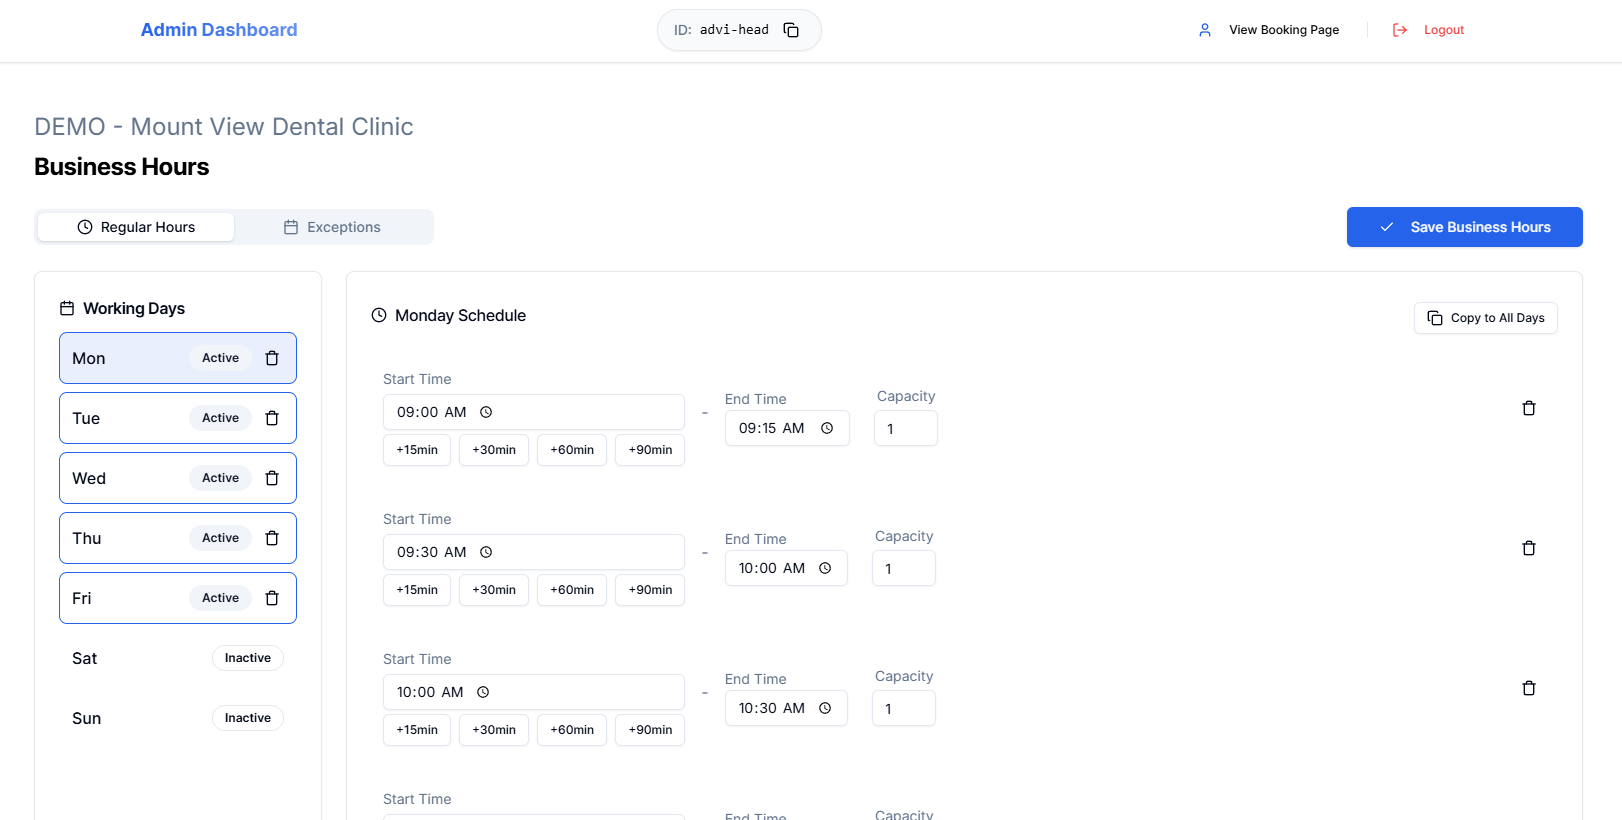
You can also edit the created hours of other days by simply clicking on the particular day.
Once you have created all your business hours, click on the Save Business Hours button
Conclusion
With this, you have successfully created your business and added your services and availability for your customers. Now, all you need to do is simply copy the widget code from our main website and place the business URL link, which you have created in your business in the widget and place the widget in your website. To share the booking link(no business website needed) to your customer, copy the URL from the top of the dashboard and share on your social media or to your customers directly.